How to Set Up a Microphone on Windows - Step-by-Step Guide
Published on February 12, 2026 | Updated February 2026
Quick Start
Setting up a microphone on Windows 11 or Windows 12 involves connecting your hardware, configuring system settings, adjusting audio levels, and testing to ensure optimal performance.
Test Your Setup NowStep 1: Connect Your Microphone
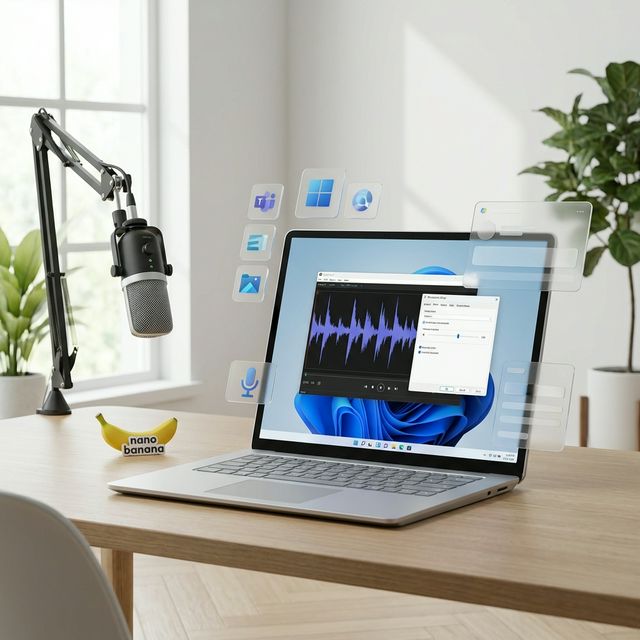
USB Microphones
- Plug into USB port (prefer USB 3.0 blue ports)
- Wait 10-15 seconds for Windows to detect
- Look for "Device is ready to use" notification
3.5mm Microphones
- Locate pink microphone jack
- Insert plug fully until it clicks
Bluetooth Microphones
- Press Win + I - Bluetooth and devices
- Toggle Bluetooth ON
- Click Add device - Bluetooth
- Pair your device
Step 2: Enable Privacy Settings
- Press Win + I - Settings
- Privacy and security - Microphone
- Toggle Microphone access ON
- Enable Let apps access your microphone
Step 3: Select Default Device
- Right-click speaker icon - Sound settings
- Scroll to Input section
- Select your microphone from dropdown
- Speak and watch test meter reach 50-80%
Step 4: Adjust Levels
- Settings - System - Sound - Input
- Click your microphone
- Set Input volume to 80-100%
- Advanced: Right-click speaker - Sounds - Recording
- Double-click mic - Levels tab
- Set Microphone Boost to +10 dB
Step 5: Configure Sample Rate
Right-click speaker - Sounds - Recording - Double-click mic - Advanced tab:
- Voice calls: 1 channel, 16 bit, 48000 Hz
- Recording: 1 channel, 24 bit, 48000 Hz
Recommended Settings
| Use Case | Sample Rate | Bit Depth | Input Level |
|---|---|---|---|
| Video calls | 48 kHz | 16-bit | 80-90% |
| Podcasting | 48 kHz | 24-bit | 70-80% |